
How to Read a Sewing Pattern Envelope: A Beginner's Guide
A practical walkthrough of the sewing pattern envelope — sizing charts, fabric quantities, notions and symbols — so you buy the right materials first time.
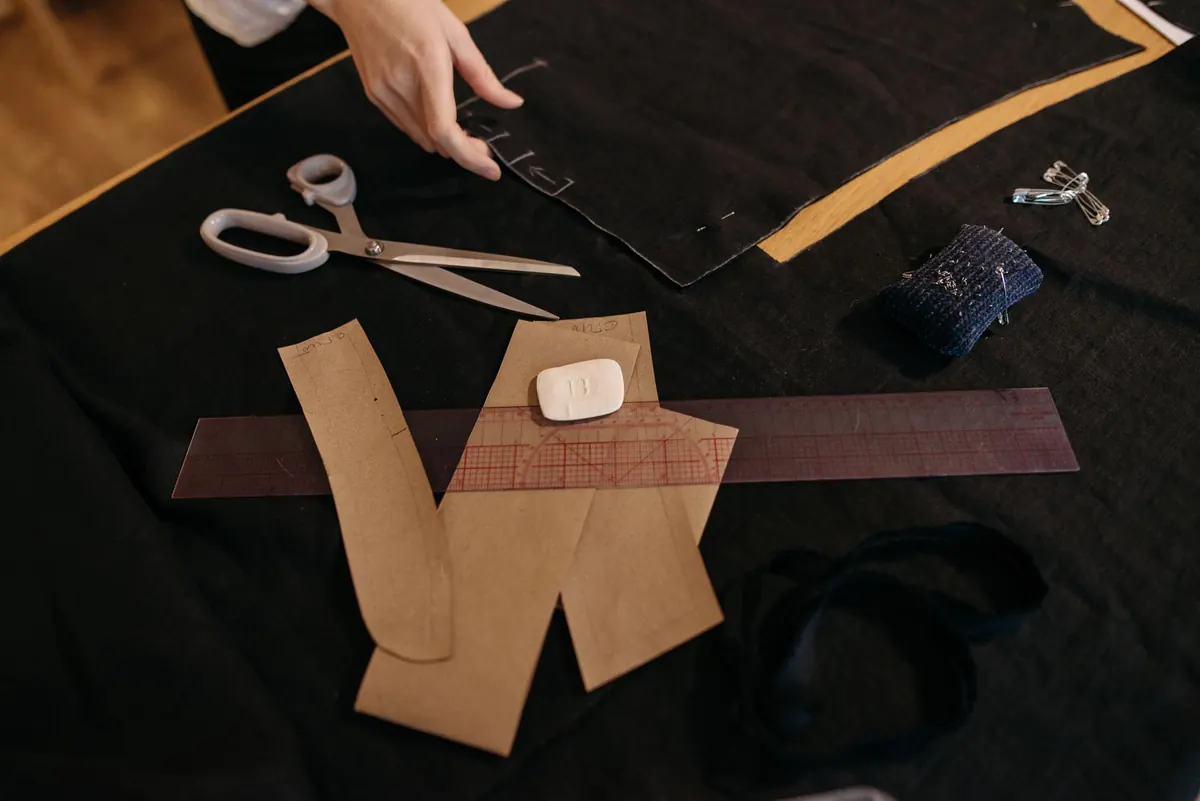
A sewing pattern envelope is a compressed instruction manual. In the space of a paperback cover it has to tell you which garments you can make, how much fabric to buy, which size to cut, and what else you will need to finish the job. Most beginners glance at the illustration, check the price and head for the fabric aisle. Then they get home and discover the pattern is drafted for a knit rather than a woven, or that the zip needs to be 55cm, not 20cm.
Reading the back of an envelope properly takes about five minutes. Here is what each block of information actually means, and how to use it before you spend anything.
The Front: Views, Options and Difficulty
The front shows the finished garments, usually labelled View A, View B and so on. These are not separate patterns you have to choose between at the till — one envelope contains the pieces for every view shown, plus the instructions for each variation. View A might be a sleeveless top with a faced neckline; View B the same top with sleeves and a collar. When you read the fabric and notion tables on the back, you read the row for the specific view you intend to make.
Most envelopes also print a difficulty indicator. Wording varies between brands — "easy", "average", "advanced" — and there is no industry-wide standard, so treat it as a rough signal rather than a promise. A pattern marked easy with eighteen pattern pieces is still eighteen pieces.
Sizing: Measure Yourself, Not Your Wardrobe
This is where most first projects go wrong. Pattern sizing bears almost no relation to the number on the label of a shop-bought dress. Ignore that number completely.
On the back of the envelope you will find a body measurement chart: bust, waist, hip, often back length and finished lengths. Take your own measurements over the underwear you plan to wear, keep the tape snug but not tight, and write them down. Choose your size from those figures, not from habit. For tops and dresses, many sewers start with the bust measurement and adjust the waist and hips; for trousers and skirts, the hip measurement usually drives the choice.
When you fall between sizes
You almost certainly will. Most patterns are multi-sized, meaning the tissue includes several sizes nested together, and you can draw a line that blends from one size at the bust to another at the waist. The alternative is to cut for your largest measurement and take the seams in later.
Some envelopes also give finished garment measurements. Compare those with a garment you already own and like. The difference between your body measurement and the finished measurement is the ease — the room built in for movement and comfort. A fitted blouse might have 5cm of ease at the bust; a loose overshirt far more. If finished measurements are not printed, they are often marked on the pattern tissue itself.
Fabric Quantities: The Grid That Trips Everyone Up
The fabric table is the densest part of the envelope, and it is worth slowing down for. It is usually laid out with fabric width across the top and pattern size down the side, giving a quantity in metres for each combination.
- Width matters. A pattern needing 2.5 metres of 115cm-wide fabric may need noticeably less in a 150cm width. Read across the correct column.
- With nap, without nap. Two figures are given for a reason. If your fabric has a direction — corduroy, velvet, brushed cotton, a one-way print, or anything with a pile — use the "with nap" figure, which is the larger one.
- Add for matching. Plaids, stripes and large-scale prints need extra so the pattern can be matched across seams. A metre extra is a sensible buffer for a busy check.
- Add for fitting. If you plan a full bust adjustment or to lengthen the bodice, buy for the size above and add a little more.
- Pre-wash before cutting. Natural fibres can shrink, so wash and press your fabric first.
Lining, if required, is usually listed as a separate line. Do not assume it is included in the main fabric figure.
Notions: The Bits You Buy Separately
The notions list is short but easy to skim past. It tells you the exact length of zip, the diameter and quantity of buttons, the width of elastic, whether interfacing is needed and how much, plus thread and any hooks, eyes or trims. These are the items that turn a half-finished project into a second trip to the shop.
One habit worth adopting: photograph the notions list and the fabric table on your phone before you leave the house. It is far easier than trying to remember whether the pattern asked for 1cm or 2cm elastic.
Symbols, Abbreviations and Recommended Fabrics
Below the tables you will usually find a list of suggested fabrics — cotton poplin, linen, jersey, wool crepe. This is guidance, not law, but choosing something close to the suggestion saves a lot of grief. A pattern drafted for stable woven fabric will behave very differently in a drapey viscose.
A short glossary of the terms that appear most often:
- Selvedge: the finished edge running along both lengths of the fabric.
- Nap: the direction of the pile or print; fabric with nap must all be cut the same way up.
- Bias: a diagonal line across the fabric, at 45 degrees to the selvedge. Bias-cut pieces drape and stretch.
- Ease: the extra room in a garment beyond your body measurements.
- Seam allowance: the distance between your stitching line and the cut edge — commonly 1.5cm, but check.
- For stretch knits only: the pattern relies on the fabric stretching to fit. Woven fabric will not work.
- Interfacing: a stiffening layer used in collars, cuffs and button bands.
How to Read an Envelope in Five Minutes
- Pick the view you want to make and note its letter.
- Measure yourself and find your size on the body measurement chart.
- Find the fabric row for that view and size, in the width you plan to buy.
- Circle the "with nap" figure if your fabric has any direction to it.
- Write down the notions list in full, including lengths and widths.
- Check the recommended fabrics against what you have in mind.
- Look for finished garment measurements and decide how much ease you want.
Before You Leave the Shop
Take a photo of the back of the envelope, then put the pattern in your basket and buy the fabric and notions in one go. Keep the envelope flap with the pattern pieces — it holds the size information you will want again when you make the second version. If you are buying a downloadable pattern online, the same blocks of information appear on the first pages of the file, so read the size chart before you pay, and check whether the measurements given are body or finished garment.
Do this once or twice and the envelope stops looking like small print. It becomes the shopping list that gets you home with everything you need.
Photo: Pavel Danilyuk / Pexels